มาช่วยเสริมให้นะครับ
ในการติดตั้ง Sarg เพื่อวิเคราะห์ Squid Log file (แต่ยังขาดการค้นหา เหมือน Plawan อยู่)
คำสั่งแรกที่ต้องใช้คือ
apt-get updateจะได้ผลลัพธ์ ดังนี้ (... หมายถึง ย่อผลลัพธ์ไว้นะครับ)
root@MultiWAN:~# apt-get update
Get:1 http://mirror1.ku.ac.th gutsy Release.gpg [191B]
Ign http://mirror1.ku.ac.th gutsy/main Translation-en_US
Ign http://mirror1.ku.ac.th gutsy/restricted Translation-en_US
.....
.....
.....
Get:10 http://mirror1.ku.ac.th gutsy-security/universe Sources [12.2kB]
Fetched 273kB in 2s (93.6kB/s)
Reading package lists... Done
root@MultiWAN:~#
เมื่อทำการ update แล้ว ก็ใช้คำสั่ง
apt-get install sargก็เป็นอันเรียบร้อย
เสร็จแล้วให้ทำการแก้ไขไฟล์ config ของ squid ดังนี้
ตรงส่วนของ Log File ให้เพิ่มบรรทัดที่เป็นสีส้มเข้าไป
# LOGFILE
# -------------------------------------
cache_dir aufs /var/spool/squid 20480 24 256
logformat common %{%Y-%m-%d %H:%M:%S}tl %6tr %>a %Ss/%03Hs %<st %rm %ru %un %Sh/%<A %mt
cache_access_log /var/log/squid/access.log common
cache_access_log /var/log/squid/sarg.logcache_log /var/log/squid/cache.log
cache_store_log none
pid_filename /var/run/squid.pid
ทำการ Save และ Reload Squid ใหม่ด้วยคำสั่ง
root@MultiWAN:~#
/etc/init.d/squid reload * Reloading Squid configuration files
...done.
root@MultiWAN:~#
ต่อไปก็เข้าไปหน้า Webmin
้

กดที่เมนู Refresh Modules เพื่อให้ WebMin ทำการโหลด Modules Sarg

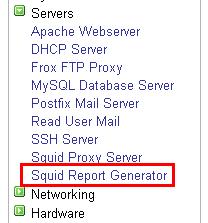
เสร็จแล้วเราก็จะได้เมนูเพิ่มขึ้นมา อยู่ใน Server -> Squid Report Generator

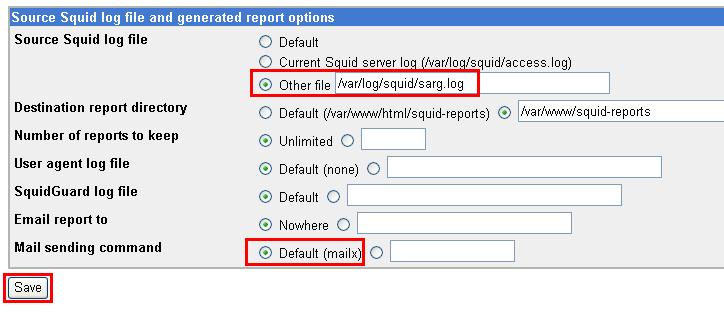
ให้ทำการแก้ไข Source Squid Log file เป็น Other file แล้วใส่ /var/log/squid/sarg.log
เปลี่ยน Mail Sending Command เป็น Default
ทำการ Save
ลองให้เครื่องลูกเข้าเวปต่าง ๆ ดู

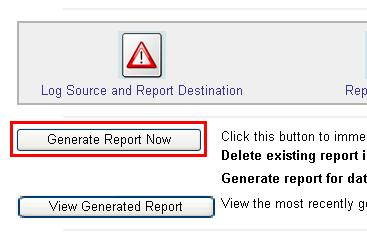
เสร็จแล้วลองทำการกดที่ปุ่ม Generate Report Now
เพื่อทำการสร้าง Report

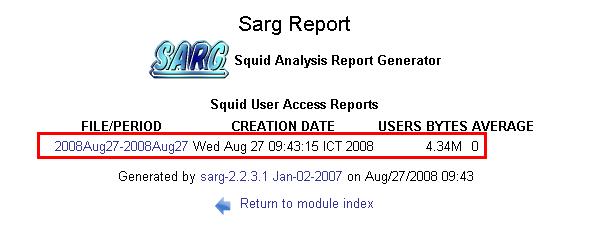
เพียงแค่นี้ก็จะได้ Report ออกมาแล้วครับ