
256
Linux Server System / คู่มือการติดตั้ง Ubuntu 7.10 ตอนที่ 3
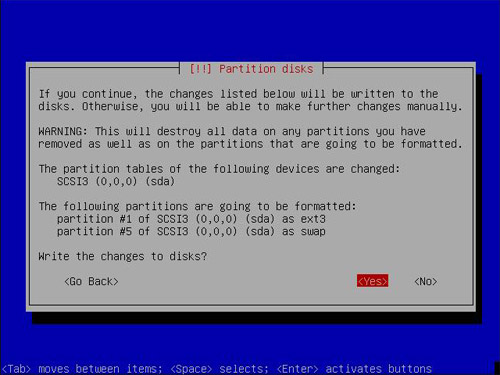
« เมื่อ: 07 กรกฎาคม 2008, 12:47:55 »เมื่อทำการติดตั้งในขั้นตอนที่ 2 เสร็จแล้ว
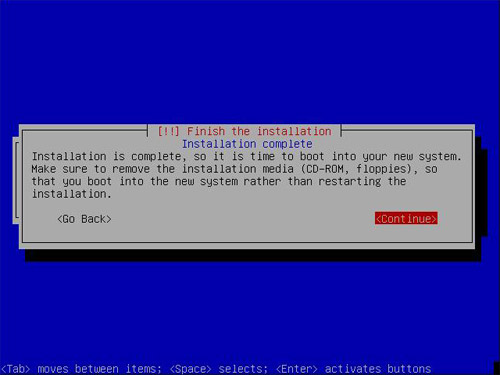
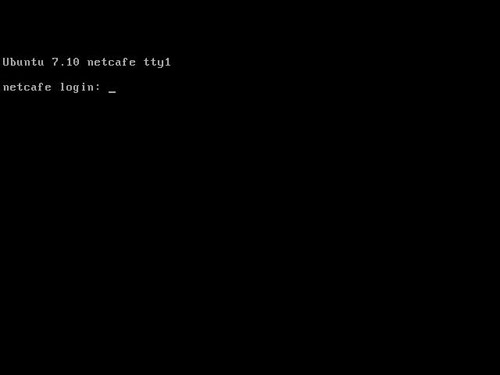
Server ก็จะ Reboot 1 ครั้ง แล้วก็ขึ้นหน้าจอให้ทำการ Login
Server ก็จะ Reboot 1 ครั้ง แล้วก็ขึ้นหน้าจอให้ทำการ Login
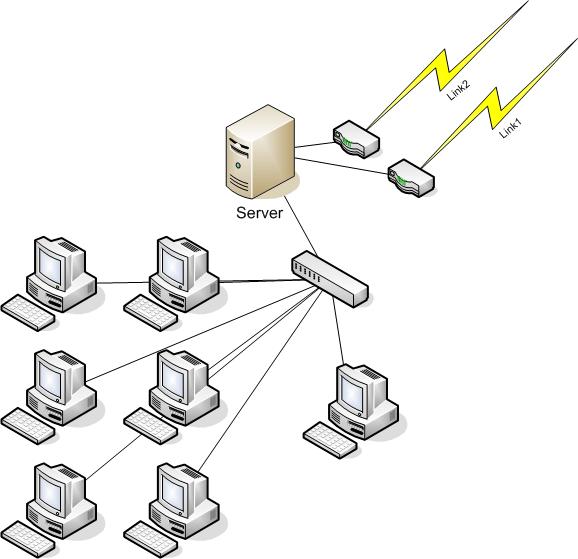
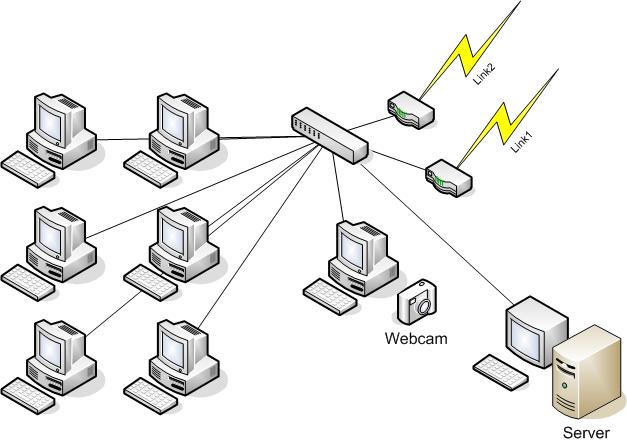
ในขั้นตอนนี้เราจะต้องทำการ Config Modem/Router ให้ทำงานเป็น Bridge Mode
เมื่อทำการ Config เสร็จแล้วก็นำไปต่อกับ eth1 เพื่อทำการเชื่อมต่อ Server สู่อินเตอร์เน็ต
เมื่อทำการ Config เสร็จแล้วก็นำไปต่อกับ eth1 เพื่อทำการเชื่อมต่อ Server สู่อินเตอร์เน็ต
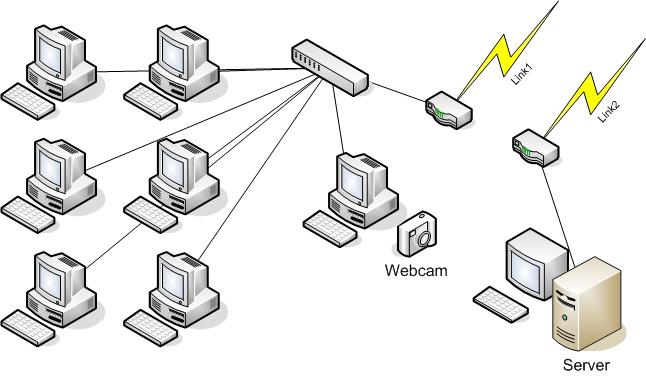
แผนผังการเชื่อมต่ออุปกรณ์ในขั้นตอนที่ 3
เมื่อทำการเชื่อมต่อเสร็จแล้วก็ดำเนินตามขั้นตอนต่อไปนี้
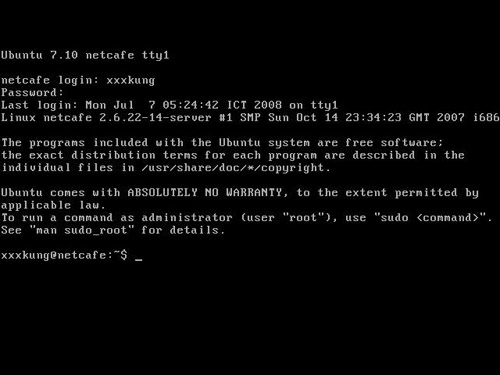
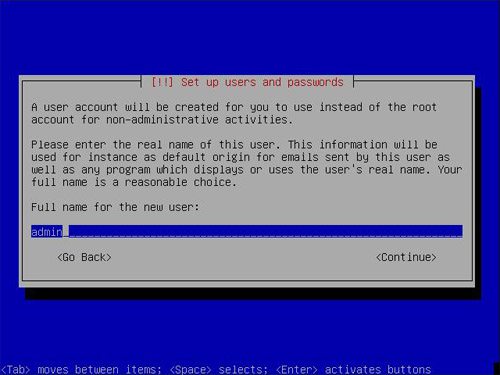
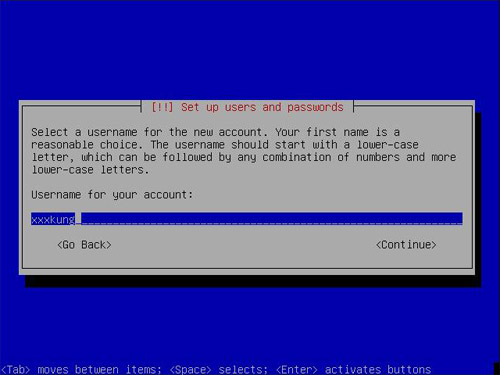
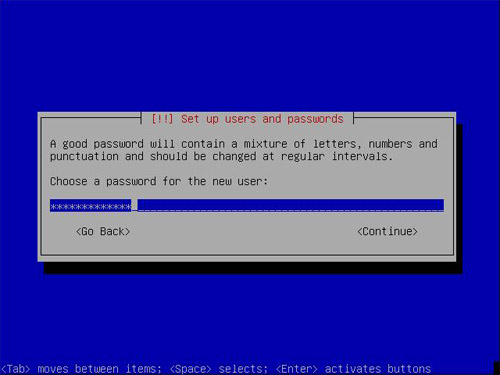
ทำการ Login ด้วย User/Pass ที่ได้กำหนดไว้ในขั้นตอนที่ 2
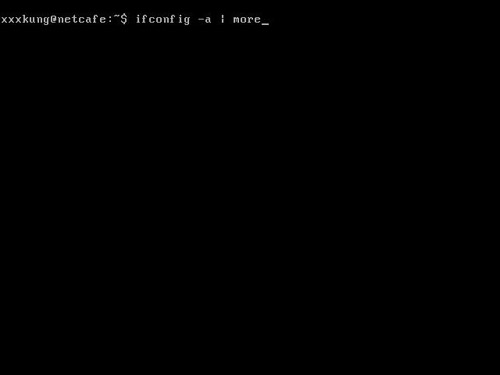
ตรวจสอบว่า Ubuntu มองเห็น LAN Card ทั้งหมดของเราหรือไม่ ด้วยคำสั่ง ifconfig -a | more
จะได้ผลลัพธ์ออกมาเป็น
eth0 Link encap:Ethernet HWaddr 00:0C:29:E4:38:8D inet addr:192.168.1.99 Bcast:192.168.1.255 Mask:255.255.255.0
inet6 addr: fe80::20c:29ff:fee4:388d/64 Scope:Link
UP BROADCAST RUNNING MULTICAST MTU:1500 Metric:1
RX packets:404 errors:0 dropped:0 overruns:0 frame:0
TX packets:333 errors:0 dropped:0 overruns:0 carrier:0
collisions:0 txqueuelen:1000
RX bytes:31845 (31.0 KB) TX bytes:35943 (35.1 KB)
Interrupt:17 Base address:0x1400
eth1 Link encap:Ethernet HWaddr 00:0C:29:E4:38:97
inet6 addr: fe80::20c:29ff:fee4:3897/64 Scope:Link
UP BROADCAST RUNNING MULTICAST MTU:1500 Metric:1
RX packets:176 errors:0 dropped:0 overruns:0 frame:0
TX packets:49 errors:0 dropped:0 overruns:0 carrier:0
collisions:0 txqueuelen:1000
RX bytes:11686 (11.4 KB) TX bytes:2174 (2.1 KB)
Interrupt:18 Base address:0x1480
eth2 Link encap:Ethernet HWaddr 00:0C:29:E4:38:A1
BROADCAST MULTICAST MTU:1500 Metric:1
RX packets:0 errors:0 dropped:0 overruns:0 frame:0
TX packets:0 errors:0 dropped:0 overruns:0 carrier:0
collisions:0 txqueuelen:1000
RX bytes:0 (0.0 b) TX bytes:0 (0.0 b)
Interrupt:19 Base address:0x1800
lo Link encap:Local Loopback
inet addr:127.0.0.1 Mask:255.0.0.0
inet6 addr: ::1/128 Scope:Host
UP LOOPBACK RUNNING MTU:16436 Metric:1
RX packets:0 errors:0 dropped:0 overruns:0 frame:0
TX packets:0 errors:0 dropped:0 overruns:0 carrier:0
collisions:0 txqueuelen:0
RX bytes:0 (0.0 b) TX bytes:0 (0.0 b)
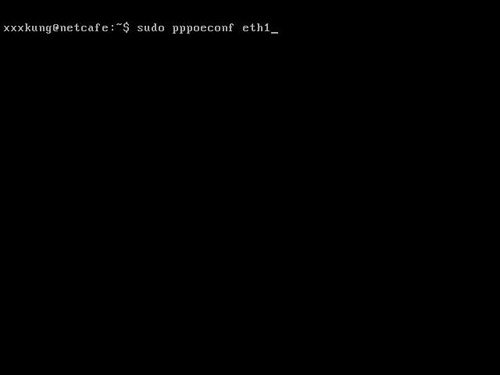
ทำการเชื่อมต่อ Internet โดยใช้คำสั่ง sudo pppoeconf eth1 (ต่อ Modem แบบ Bridge ไว้กับช่อง eth1)
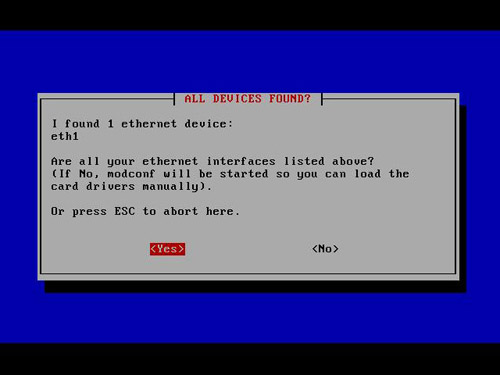
ตอบ Yes
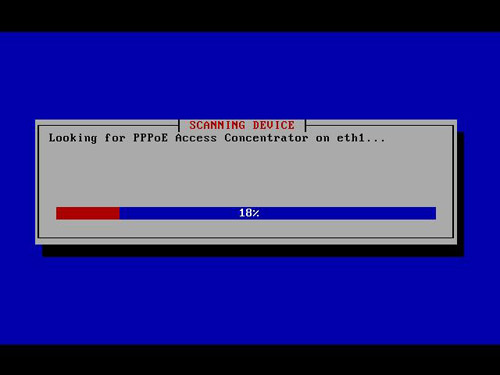
รอสักครู่
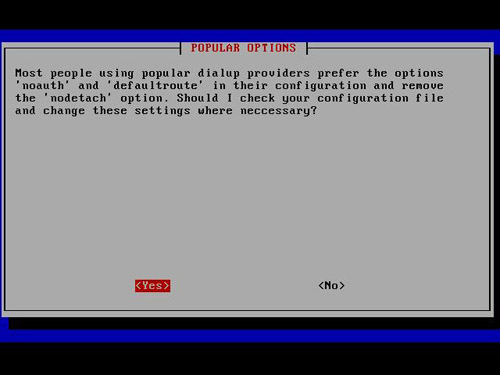
ตอบ Yes
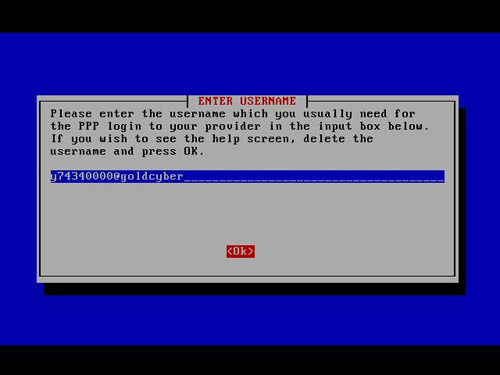
ใส่ Username ของ ISP ที่โมเด็มเชื่อมต่ออยู่
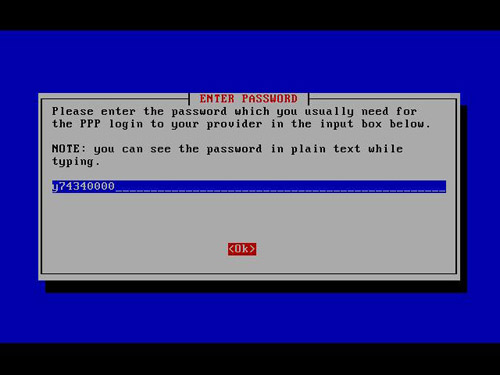
ใส่ Password
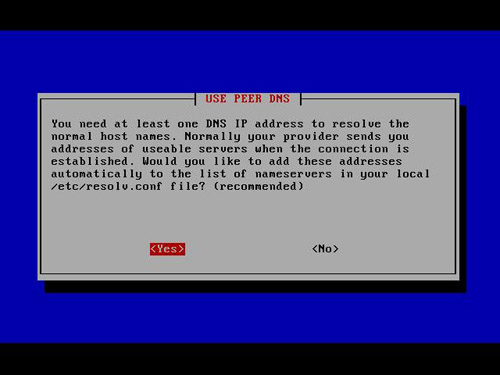
ตอบ Yes
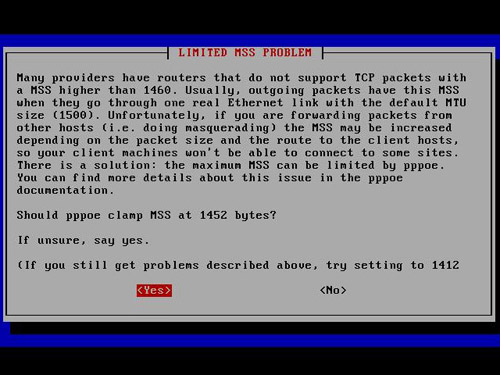
ตอบ Yes
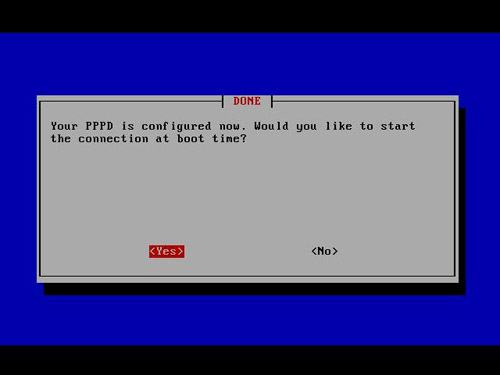
ตอบ Yes
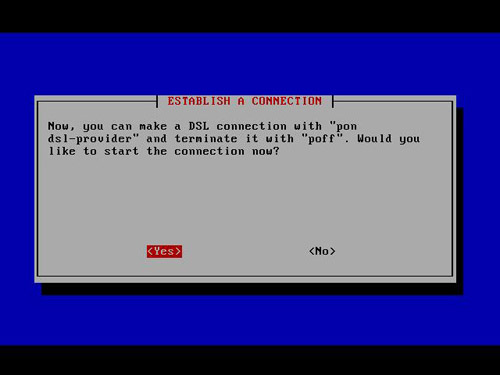
ตอบ Yes
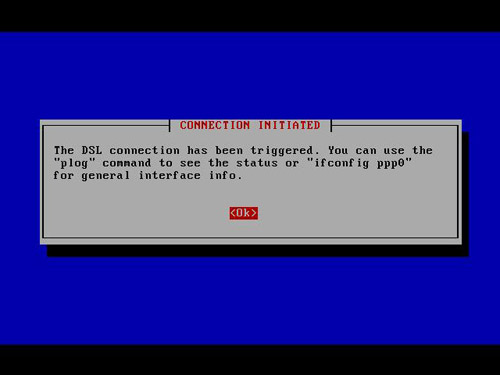
ตอบ Ok

เสร็จสิ้นการ Config
หากขั้นตอนถูกต้องทุกอย่างจะปรากฎ interface ppp0 เพิ่มขึ้นมา เมื่อใช้คำสั่ง ifconfig
eth0 Link encap:Ethernet HWaddr 00:0C:29:E4:38:8D
inet addr:192.168.1.99 Bcast:192.168.1.255 Mask:255.255.255.0
inet6 addr: fe80::20c:29ff:fee4:388d/64 Scope:Link
UP BROADCAST RUNNING MULTICAST MTU:1500 Metric:1
RX packets:404 errors:0 dropped:0 overruns:0 frame:0
TX packets:333 errors:0 dropped:0 overruns:0 carrier:0
collisions:0 txqueuelen:1000
RX bytes:31845 (31.0 KB) TX bytes:35943 (35.1 KB)
Interrupt:17 Base address:0x1400
eth1 Link encap:Ethernet HWaddr 00:0C:29:E4:38:97
inet6 addr: fe80::20c:29ff:fee4:3897/64 Scope:Link
UP BROADCAST RUNNING MULTICAST MTU:1500 Metric:1
RX packets:176 errors:0 dropped:0 overruns:0 frame:0
TX packets:49 errors:0 dropped:0 overruns:0 carrier:0
collisions:0 txqueuelen:1000
RX bytes:11686 (11.4 KB) TX bytes:2174 (2.1 KB)
Interrupt:18 Base address:0x1480
lo Link encap:Local Loopback
inet addr:127.0.0.1 Mask:255.0.0.0
inet6 addr: ::1/128 Scope:Host
UP LOOPBACK RUNNING MTU:16436 Metric:1
RX packets:0 errors:0 dropped:0 overruns:0 frame:0
TX packets:0 errors:0 dropped:0 overruns:0 carrier:0
collisions:0 txqueuelen:0
RX bytes:0 (0.0 b) TX bytes:0 (0.0 b)
ppp0 Link encap:Point-to-Point Protocol
inet addr:118.173.142.218 P-t-P:118.173.142.1 Mask:255.255.255.255
UP POINTOPOINT RUNNING NOARP MULTICAST MTU:1432 Metric:1
RX packets:182918 errors:0 dropped:0 overruns:0 frame:0
TX packets:162518 errors:0 dropped:0 overruns:0 carrier:0
collisions:0 txqueuelen:3
RX bytes:157164688 (149.8 MB) TX bytes:65316086 (62.2 MB)
ให้ทำการแจ้งหมายเลข IP เพื่อให้ทาง Hadyai Internet ได้ทำการ Remote และทำการติดตั้งต่อไป
เมื่อทำการ config เสร็จเรียบร้อยแล้ว (ใช้เวลาประมาณ 2-3 ชั่วโมง) ก็สามารถใช้งาน MultiWAN Server ได้อย่างสมบูรณ์